- No Hot Water from Water Heater: Main Causes and Fixes
- Check the Power Source
- Inspect the Heating Elements
- Check the Thermostat and High-Temperature Limit Switch
- Electric Water Heater Problems and Solutions
- Resetting the Water Heater
- Testing and Replacing Faulty Heating Elements
- Checking Electrical Connections
- Gas Water Heater Problems: What to Check First
- Step 1: Check the Pilot Light
- Step 2: Inspect the Thermocouple
- Step 3: Examine the Gas Supply
- Tankless Water Heater Problems: Common Issues Explained
- Inadequate Flow Rate
- Temperature Fluctuations
- Error Codes and Maintenance Needs
- How to Troubleshoot Water Heater Not Heating Properly
- Adjust the Thermostat Settings
- Check for Sediment Buildup
- Inspect the Heating Elements or Burners
- Fixing Water Heater Leaks: DIY Steps and Professional Help
- Step 1: Inspect the Pressure Relief Valve
- Step 2: Tighten the Drain Valve
- Step 3: Check for Corrosion or Tank Damage
- Rust-Colored Water and Water Quality Issues
- Check the Anode Rod
- Flush the Tank to Remove Sediment
- Consider Replacing an Older Tank
- Flushing Your Water Heater to Prevent Sediment Buildup
- Turn Off the Power and Water Supply
- Attach a Hose to the Drain Valve
- Open the Drain Valve and Flush the Tank
- Water Heater Making Noise? Here's What It Means
- Popping or Rumbling Sounds
- Whistling or High-Pitched Noises
- Sizzling or Hissing Sounds
- How to Test and Replace Water Heater Elements
- Turn Off the Power and Access the Heating Element
- Test the Heating Element with a Multimeter
- Replace the Faulty Heating Element
- Replacing the Water Heater Thermostat: A Step-by-Step Guide
- Step 1: Turn Off the Power and Access the Thermostat
- Step 2: Remove the Old Thermostat
- Step 3: Install the New Thermostat and Restore the Power
- Preventing Common Water Heater Problems with Maintenance
- Flush the Tank Regularly
- Check the Anode Rod and Pressure Relief Valve
- Set the Thermostat to the Right Temperature
- Signs It's Time to Replace Your Water Heater
- Age of the Water Heater
- Persistent Leaks or Rust-Colored Water
- Rising Energy Bills and Reduced Efficiency
- Reliable Solutions for Water Heater Problems
- Frequently Asked Questions
- What is the most common water heater problem?
- How do I know when my water heater needs to be replaced?
- What happens if I never flush my water heater?
- How often should I replace the anode rod?
- Can I flush my water heater myself?
- Get Expert Assistance for Water Heater Problems
Water heater problems can disrupt daily routines and increase utility bills. Issues like no hot water, fluctuating temperatures, leaks, or odd noises are common water heater problems that indicate potential malfunctions within the unit. Addressing these problems on time can extend the lifespan of your water heater, improve energy efficiency, and keep repair costs low. In this guide, we'll help you troubleshoot water heater problems effectively, covering how to identify and fix issues like no hot water from the water heater, diagnose electric and gas heater problems, and maintain your system to avoid future breakdowns.
No Hot Water from Water Heater: Main Causes and Fixes
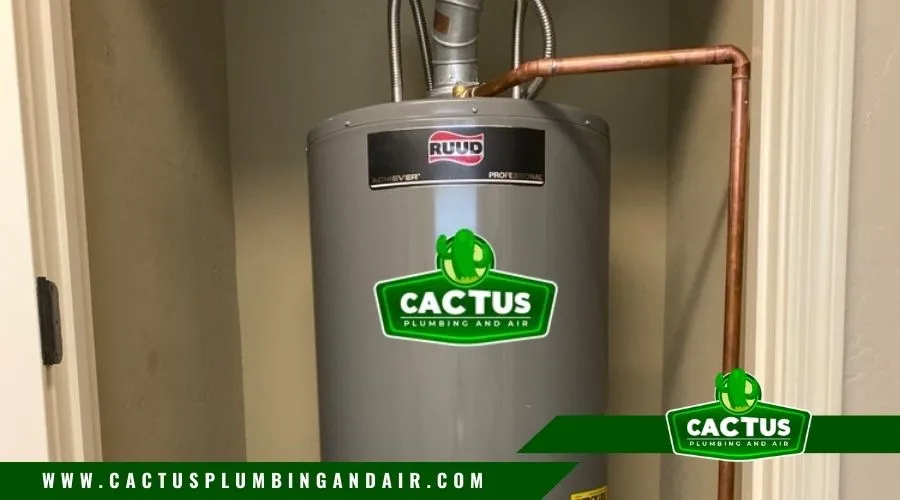
No hot water is one of the most common water heater complaints. It can happen with both electric and gas water heaters for various reasons. Follow these troubleshooting steps to address the issue:
Check the Power Source
For electric water heaters, verify that the circuit breaker hasn't tripped. If it has, reset it. If it trips repeatedly, consult a professional to check for wiring issues.
- Go to your main breaker panel.
- Look for the breaker labeled “Water Heater.”
- If the breaker is tripped, switch it off and then back on.
- Call a professional if the breaker continues to trip.
Inspect the Heating Elements
Electric water heaters rely on heating elements to heat water. A faulty element may result in no hot water. You can test the elements using a multimeter for continuity. If the reading is zero or infinite, the element likely needs replacement.
- Turn off the power to the water heater.
- Remove the heating element cover panel and insulation.
- Use a multimeter to test the element for continuity.
- Replace the element if there is no continuity or the reading is infinite.
Check the Thermostat and High-Temperature Limit Switch
The thermostat controls water temperature, while the high-temperature limit switch ensures safe operation. A faulty thermostat may cause the heater to stop working. Adjust the thermostat to a moderate setting (usually 120°F) and test again. If the problem persists, replacing the thermostat may be necessary.
- Turn off the power to the water heater.
- Remove the access panel and insulation to reach the thermostat.
- Set the thermostat to 120°F and check for correct operation.
- If the thermostat or limit switch is faulty, consider replacement.
Electric Water Heater Problems and Solutions
Electric water heaters are popular for their convenience but can encounter specific issues related to power, heating elements, and thermostats. Here's how to troubleshoot common electric water heater problems.
Resetting the Water Heater
If your electric water heater isn't heating, locate the reset button, usually near the thermostat. Press the button firmly until you hear a click. This may reset the system and restore hot water. If the reset button trips frequently, it could signal a deeper issue.
Testing and Replacing Faulty Heating Elements
Faulty heating elements are a major cause of hot water issues in electric heaters. Test each element with a multimeter; if no reading is obtained, replace it with one of the same wattage and size.
Checking Electrical Connections
Loose or faulty electrical connections can interrupt power to your water heater. Carefully inspect wires for signs of damage or burning. Turn off the breaker and tighten loose connections to avoid electrical hazards. If you're unfamiliar with electrical work, calling a professional is safer.
Gas Water Heater Problems: What to Check First
Gas water heaters can encounter issues specific to their fuel source, including pilot light failures and gas line problems. Follow these steps to troubleshoot common gas water heater problems.
Step 1: Check the Pilot Light
The pilot light is essential for heating water in gas water heaters. If it's out, there won't be any hot water.
- Locate the pilot light access panel.
- Open the panel and check if the pilot light is on.
- If it's off, follow your heater's manual instructions to relight it safely.
- If the pilot light doesn't stay lit, you may need a new thermocouple or professional assistance.
Step 2: Inspect the Thermocouple
A thermocouple is a safety device that shuts off the gas if the pilot light goes out. A worn or damaged thermocouple can prevent the heater from lighting.
- Turn off the gas supply and let the thermocouple cool.
- Unscrew and remove the thermocouple from the heater.
- Check for dirt or corrosion and gently clean if needed.
- If the thermocouple is worn or damaged, replace it.
Step 3: Examine the Gas Supply
A steady gas supply is critical for a gas water heater. Blockages or leaks in the gas line can prevent the heater from functioning properly.
- Confirm that the gas supply valve is fully open.
- Inspect the gas line for any kinks, damage, or leaks.
- If you detect a gas leak (a sulfur-like smell), immediately turn off the gas, ventilate the area, and call a professional.
Tankless Water Heater Problems: Common Issues Explained
Tankless water heaters are efficient but can face specific flow rate and temperature consistency issues. Here's how to address common tankless water heater problems:
Inadequate Flow Rate
Tankless heaters require a certain flow rate to heat water effectively. More flow can lead to lukewarm or cold water.
- Check the minimum flow rate in your unit's manual.
- Ensure that all water filters in the heater are clean to avoid blockages.
- If your unit struggles with high demand, only run multiple fixtures (e.g., shower and washing machine) simultaneously.
Temperature Fluctuations
Temperature changes can happen when the heater's capacity is too low or due to a ‘cold water sandwich' effect.
- Adjust the temperature setting on the unit to a balanced range (usually 120°F to 140°F).
- If fluctuations persist, consider a recirculating system to prevent cold water sandwiching.
- Upgrading to a larger unit or installing an additional tankless heater may benefit high-demand homes.
Error Codes and Maintenance Needs
Tankless heaters often display error codes to indicate issues. Regular maintenance is essential to keep them running smoothly.
- Refer to the heater's manual to decode error messages.
- Clean the air intake filter and flush the system as recommended.
- Consult a professional for persistent error codes or performance issues.
How to Troubleshoot Water Heater Not Heating Properly
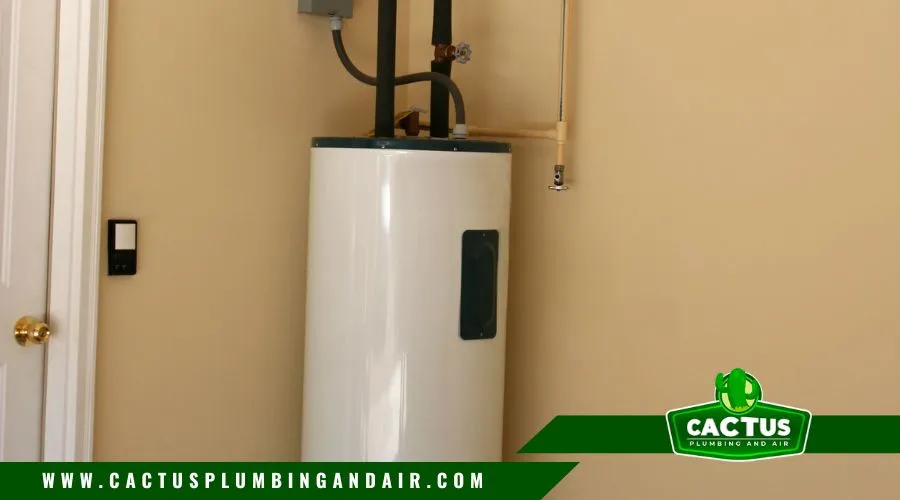
Several factors can cause inconsistent water heating, whether you have an electric, gas, or tankless water heater. Here's how to troubleshoot heating issues effectively.
Adjust the Thermostat Settings
Thermostat settings that are too low can result in lukewarm water. Adjusting the thermostat can resolve this issue.
- Locate the thermostat on your water heater.
- Set it to 120°F or slightly higher, depending on your preference.
- Wait about an hour and test the hot water. If it's still not heating properly, further inspection may be needed.
Check for Sediment Buildup
Sediment buildup can insulate water from the heat source, causing inadequate heating.
- Turn off the power and drain a small amount of water from the tank to check for sediment.
- If sediment is present, perform a full tank flush (instructions in the flushing section below).
- Regular flushing every 6-12 months can prevent this issue.
Inspect the Heating Elements or Burners
Electric heaters rely on heating elements, while gas heaters use burners. Problems with these components can lead to poor heating.
- For electric heaters, test the heating elements with a multimeter and replace them if needed.
- For gas heaters, visually inspect the burner for clogs or wear. Clean or replace as necessary.
Fixing Water Heater Leaks: DIY Steps and Professional Help
Leaks from a water heater can result from various causes, from loose valves to tank corrosion. Identifying the source of a leak and taking action quickly can prevent water damage and help avoid costly repairs. Here's how to address common water heater leaks.
Step 1: Inspect the Pressure Relief Valve
The pressure relief valve releases excess pressure from the tank. If it's faulty or loose, it can cause water to leak. First, locate the valve, usually on the side or top of the tank. Inspect it closely for signs of dripping or water pooling. Tightening the valve might stop the leak, but if it is damaged, consider replacing it. A properly functioning pressure relief valve is essential for safe water heater operation.
Step 2: Tighten the Drain Valve
The drain valve at the water heater's base allows you to empty the tank for maintenance, but it may leak if it becomes loose or worn. Examine the area around the drain valve, and if you see drips, gently tighten the valve by hand. Be cautious not to overtighten, as this could damage the valve. If tightening doesn't solve the problem, you may need to replace the valve to prevent further leakage.
Step 3: Check for Corrosion or Tank Damage
If the leak comes from the bottom of the tank, it could be due to corrosion or cracks in the tank itself. Over time, sediment buildup and mineral deposits can weaken the tank, leading to leaks that are often beyond repair. If your tank is old or severely corroded, replacing the water heater might be more cost-effective than attempting repairs. Regular maintenance, like flushing the tank, can help prevent corrosion and extend the tank's lifespan.
Rust-Colored Water and Water Quality Issues
Rust-colored water from your water heater can indicate corrosion inside the tank. This discoloration can affect your water quality, pointing to possible tank deterioration or a failing anode rod, which protects the tank from rust. Here's how to handle this issue.
Check the Anode Rod
The anode rod is a sacrificial component that attracts minerals, protecting the tank from corrosion. Over time, the anode rod wears out, allowing rust to form in the tank. To inspect it, turn off the power and water supply to the heater, then carefully remove the anode rod from the top of the tank. If the rod appears heavily corroded or worn, replacing it can help prevent further rust and improve water quality.
Flush the Tank to Remove Sediment
Sediment buildup can also contribute to rust-colored water, especially if minerals have accumulated at the bottom of the tank. Flushing the tank removes these sediments and can reduce discoloration. To flush the tank, turn off the heater, attach a hose to the drain valve, and allow the water to flow until it runs clear. Regular flushing helps maintain both water quality and heater efficiency.
Consider Replacing an Older Tank
If your water heater is over 10 years old and producing rust-colored water despite maintenance, it may be nearing the end of its life. Corrosion inside an aging tank is often irreversible, leading to leaks or other failures. Replacing the heater with a new model may offer better water quality, energy efficiency, and peace of mind.
Flushing Your Water Heater to Prevent Sediment Buildup
Flushing your water heater is an essential maintenance that helps prevent sediment buildup. This buildup can reduce heating efficiency, cause strange noises, and even damage the tank over time. Here's how to flush your water heater.
Turn Off the Power and Water Supply
For safety, first, turn off the power to your water heater (either by switching off the breaker for electric models or setting the thermostat to “pilot” for gas models). Then, turn off the cold water supply valve at the top of the tank.
Attach a Hose to the Drain Valve
Locate the drain valve near the base of the heater and attach a garden hose to it. Position the other end of the hose in a safe drainage area, such as a floor drain or an outdoor area.
Open the Drain Valve and Flush the Tank
Open a nearby hot water faucet to prevent vacuum pressure, then carefully open the drain valve to allow the water to flow out. This process may take several minutes. When the water runs clear, close the drain valve, remove the hose, and turn the water supply back on to refill the tank.
Water Heater Making Noise? Here's What It Means
Strange noises from your water heater, like popping or rumbling sounds, can signal a problem. These noises are often linked to sediment buildup, mineral deposits, or pressure issues. Here's how to interpret and address these sounds.
Popping or Rumbling Sounds
Popping or rumbling noises usually indicate sediment buildup inside the tank. As water heats, trapped sediment creates air pockets that produce popping sounds. Regular flushing can help eliminate sediment and restore smooth operation.
- Turn off the heater and attach a hose to the drain valve.
- Open the drain valve and let the water run until it's clear to flush out sediment.
- Perform this flush every 6-12 months to avoid future issues.
Whistling or High-Pitched Noises
A whistling or high-pitched sound might mean excessive pressure in the tank. This often happens if the pressure relief valve is faulty or the thermostat is set too high, causing overheating.
- Inspect the pressure relief valve for any drips or leaks.
- Lower the thermostat setting if it's above 120°F.
- Consider replacing the valve if the noise persists.
Sizzling or Hissing Sounds
Sizzling or hissing noises can indicate water dripping onto hot elements inside an electric water heater. Condensation, leaks, or loose connections could cause this.
- Check for leaks around the heating elements and valves.
- Tighten any loose connections to prevent further dripping.
- Replace damaged components if needed.
How to Test and Replace Water Heater Elements
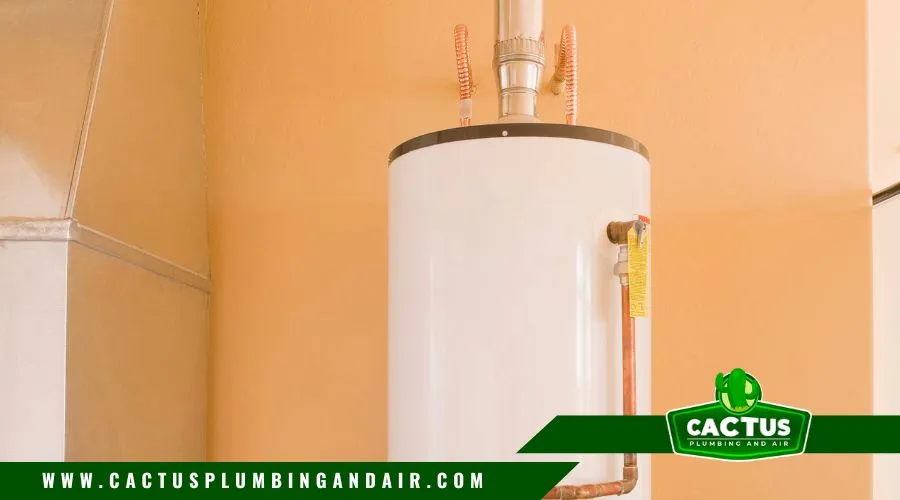
Heating elements in electric water heaters are essential for maintaining hot water. If you experience insufficient heating, it may be due to a faulty element. Here's how to test and replace these components.
Turn Off the Power and Access the Heating Element
Start by turning off the power to the water heater to prevent electric shock. Locate the access panel on the tank, usually secured with screws.
- Switch off the breaker dedicated to the water heater.
- Remove the access panel and any insulation covering the element.
- Be cautious to ensure no power is flowing to the heater.
Test the Heating Element with a Multimeter
Testing the element can help determine if it needs replacement. Use a multimeter to check for continuity. If there's no reading, the element is likely faulty.
- Set the multimeter to the lowest ohms setting.
- Place one probe on each terminal of the element.
- If the reading is zero or infinite, the element needs replacing.
Replace the Faulty Heating Element
Once confirmed, replace the faulty element with a new one of the same wattage and size.
- Unscrew the element from the tank carefully.
- Insert the new element and tighten it securely.
- Replace insulation, close the access panel, and restore power to the heater.
Replacing the Water Heater Thermostat: A Step-by-Step Guide
A thermostat controls the temperature in your water heater, and a malfunctioning thermostat can lead to inconsistent water heating. Here's how to replace a faulty thermostat.
Step 1: Turn Off the Power and Access the Thermostat
Before you start, ensure the power is turned off to prevent electrical shocks. Open the access panel where the thermostat is located.
- Turn off the breaker for the water heater.
- Remove the access panel and any insulation covering the thermostat.
- Ensure there's no power to the unit.
Step 2: Remove the Old Thermostat
Carefully disconnect the thermostat's wires. Note where each wire connects; you'll need this information for the new thermostat.
- Disconnect the wires from the terminals.
- Take out the old thermostat from its mounting.
- Keep track of the wire connections for easy installation.
Step 3: Install the New Thermostat and Restore the Power
Attach the new thermostat, reconnecting each wire to its original position. Replace the insulation and access panel, then turn the power back on.
- Mount the new thermostat securely in place.
- Reattach the wires to their correct terminals.
- Restore power and test the thermostat for proper heating.
Preventing Common Water Heater Problems with Maintenance
Regular maintenance can prevent common water heater issues, from sediment buildup to faulty components. Taking proactive steps helps ensure your heater functions efficiently and extends its lifespan.
Flush the Tank Regularly
Flushing the tank every 6-12 months removes sediment buildup that can damage the tank and decrease efficiency. Regular flushing reduces stress on heating elements and prevents issues like rust-colored water and odd noises.
- Turn off the heater and drain some water through the drain valve.
- Check for any sediment, and perform a full flush if necessary.
- Repeat this process at least once a year.
Check the Anode Rod and Pressure Relief Valve
Inspecting the anode rod every few years helps prevent tank corrosion. Also, checking the pressure relief valve ensures it works correctly to release excess pressure.
- Turn off the power and water supply to the heater.
- Remove the anode rod and check for wear; replace if necessary.
- Test the pressure relief valve for leaks and replace it if it's faulty.
Set the Thermostat to the Right Temperature
Setting your thermostat to around 120°F can prevent overheating and lower energy costs. This temperature is also optimal for safe operation, reducing the risk of scalding.
- Check the thermostat setting every few months.
- Adjust it to 120°F if it's set too high or low.
- A stable temperature setting ensures energy efficiency and safety.
Signs It's Time to Replace Your Water Heater
Knowing when to replace your water heater can save you from unexpected breakdowns and costly repairs. Here are signs that indicate a replacement may be more practical than repair.
Age of the Water Heater
Most water heaters last around 10-15 years. If yours is approaching this age range, consider a replacement, as older units become less efficient and prone to problems.
Persistent Leaks or Rust-Colored Water
Frequent leaks or rust-colored water often indicate corroding tank. If these issues persist despite repairs, a new unit is likely needed to ensure clean, reliable hot water.
Rising Energy Bills and Reduced Efficiency
An old or inefficient water heater requires more energy to maintain temperatures. If your energy bills rise, a new, energy-efficient model could save on monthly costs and improve water heating performance.
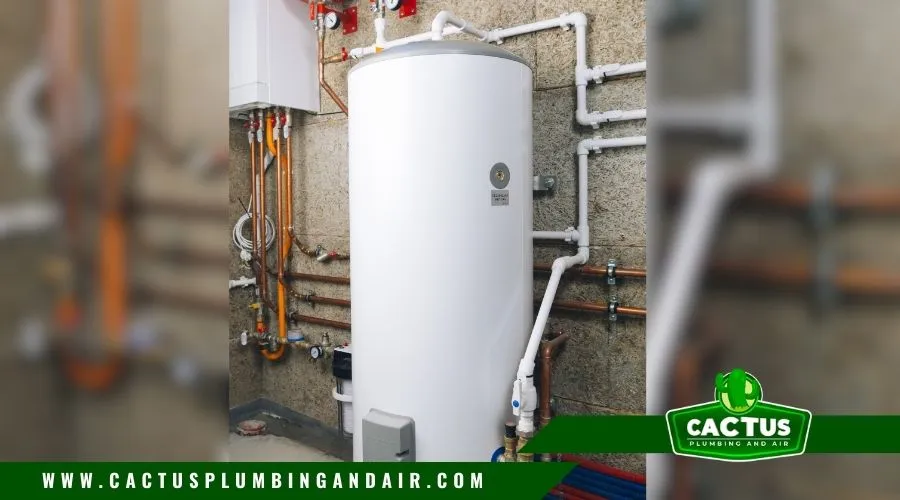
Reliable Solutions for Water Heater Problems
Proper troubleshooting, timely repairs, and regular maintenance can help avoid common water heater problems and ensure steady hot water. Addressing issues like water heater problems or strange noises promptly keeps your system running efficiently and extends its lifespan. For professional assistance, Cactus Plumbing And Air as your plumber Gilbert can help you diagnose, repair, and maintain your water heater to ensure it operates at its best.
Frequently Asked Questions
What is the most common water heater problem?
The most common issue is no hot water, often due to a faulty heating element, thermostat, or sediment buildup.
How do I know when my water heater needs to be replaced?
If your water heater is over 10-15 years old, leaking frequently, or producing rusty water, it's likely time to replace it.
What happens if I never flush my water heater?
Without regular flushing, sediment builds up, reducing efficiency, causing noises, and potentially damaging the tank.
How often should I replace the anode rod?
The anode rod should be replaced every 3-5 years depending on water quality and tank usage.
Can I flush my water heater myself?
Yes, but following a step-by-step guide ensures safety. Cactus Plumbing And Air recommends professional assistance if you're unfamiliar with the process.
Get Expert Assistance for Water Heater Problems
If you're experiencing water heater issues and need professional help, contact Cactus Plumbing And Air, your trusted plumber. Our experienced team provides prompt and reliable service for everything from minor repairs to full replacements, ensuring you have a dependable hot water supply without interruptions.
Recent Posts
-

How to Unclog a Bathroom Sink
Nov 23, 2025 -
What is a Sewer Cleanout and How to Locate It
Oct 27, 2025